
If you’re thinking about upgrading your garden with a brand-new shed, you need to start with the shed base! A shed base provides stability and support, preventing your shed from sinking into the ground and promoting even weight distribution. Moreover, it also helps to enhance drainage, protecting the shed’s structure and contents from moisture and potential water damage.
Not sure how you should build a shed base? You’ve come to the right place! At Landscaping Superstore, we’ve put together an in-depth guide on how to build a shed base like a pro! Read on to learn more.
Table of contents
- Types of shed bases
- Preparation and planning
- Using concrete for your shed base
- How to lay paving slabs
- To conclude
Types of shed bases
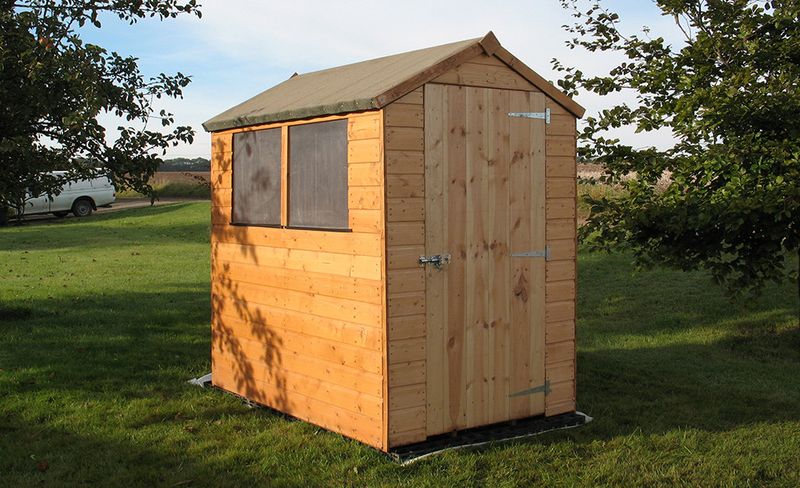
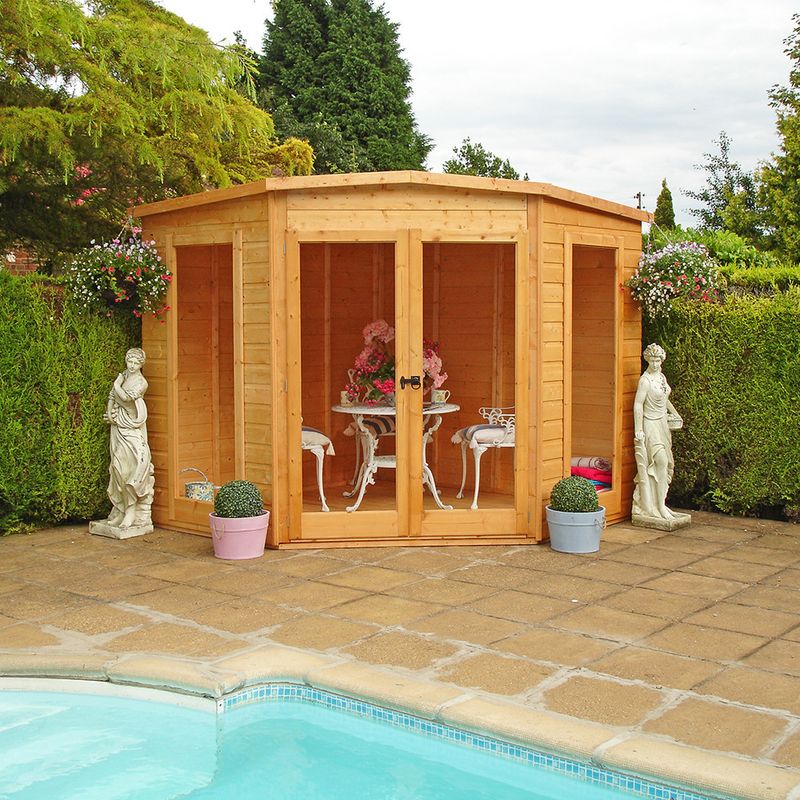
Shed bases typically need to be constructed separately from the shed and floor, and you may have to create one from scratch. There are four primary types, including a timber base (also known as a portabase), concrete base, plastic base and paved base.
For larger structures like workshops, a concrete base is ideal and is, in fact, one of the most commonly chosen shed bases for garden buildings. It’s crucial to avoid using a wooden shed base kit on an unstable foundation, as this can lead to misalignment of screw holes with the wall panels.
Here are the recommended uses for each type of base.
| Base Type | Description | Suitable for |
| Timber | They’re stable and cost-effective, but they’re at higher risk of damage if the ground isn’t level. | Garden sheds Small gazebos Playhouses |
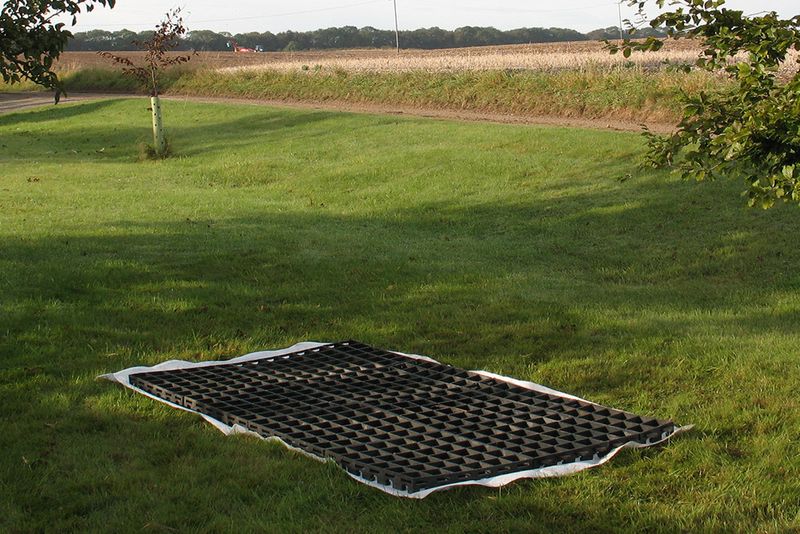
| Plastic | They’re lightweight, eco-friendly and easy to relocate, making them popular with many engaged homeowners. | Garden sheds Gazebos Greenhouses Log cabins Playhouses |
| Concrete | While they’re easy to build, they require a sub-base, so the process of laying them is a bit longer. | Garden sheds Gazebos Greenhouses Log cabins Insulated garden rooms Playhouses |
| Paving slab | They provide a level, durable base, but they also require a sub-base. | Garden sheds Gazebos Greenhouses Log cabins Insulated garden rooms Playhouses |

Preparation and planning
Before you can lay the shed base itself, you have some planning and preparation to do.

Step one: Planning permission check
Ensure that you obtain planning permission if required. Although sheds are generally not considered permanent structures, specific rules may apply, especially if the shed is intended for use as an outbuilding. Verify regulations on the Planning Portal, noting that structures under 15m² and not used for sleeping may not always require permission.
Step two: Foundation assessment
Ensure the foundation is not only level but also sturdy enough to support the shed base. As we mentioned earlier, concrete and paving shed bases both require a sub-base.
Step three: Sub-base planning
Measure the site and mark potential square corners with a peg at each corner.
Step four: Site visualisation
Run a builder’s line/string from each peg to visualise the site, using the 3-4-5 method or measuring diagonals to ensure square corners.

Step five: Lawn edging
Use an edger for a straight cut. Cut into the lawn, removing turf in strips. Save some removed turf to place between the lawn and the finished base if needed.
Step six: Digging and levelling
Within the designated area, dig a depth of 15cm for the shed base. Hammer marker pegs (50cm x 50cm), spaced 1m apart, ensuring hardcore levelness with a spirit level. Add hardcore until it levels just above the top of the pegs.
Step seven: Compaction and levelling
Use an earth rammer or vibrating plate compactor to compact the material. Add a thin layer of sharp sand or ballast, then use a rake to level it out.
That’s your sub-base taken care of!
Using concrete for your shed base
If you decide to use concrete instead of paving stones, building a shed base will involve the following steps:

Step one: Calculating concrete quantity
Determine the required concrete amount using the following easy formula:
Surface area = length (metres) x width (metres)
Volume of area (cubic metres) = surface area x depth/thickness (fraction of a metre)
Round up the numbers and include a minimum 10% for wastage.
Step two: Concrete mix preparation
If you don’t have pre-mixed concrete, mix one part cement with five parts ballast. Follow the manufacturer’s instructions for adding water if using pre-mixed concrete.
Step three: Dampening and pouring concrete
Using a watering can with a rose, dampen the sub-base and begin pouring the prepared concrete into the area.
Step four: Removing air pockets
Hold a shovel vertically with the blade in the wet concrete, moving across to eliminate air pockets.
Step five: Spreading concrete
Spread the concrete with a garden rake, ensuring it is at least 18mm above the formwork. Work in 1m-1.5m squared sections.
Step six: Flattening with timber support
Starting at one end, use a long, straight piece of timber wider than the site to flatten and compact the concrete along the entire length.
Step seven: Removing excess concrete
Slide the timber piece across the site in a sawing motion, removing any excess concrete. Fill any dips or holes and repeat until level with the frame.
You’re nearly there!
Step eight: Finishing and covering
Round off the edges with a trowel. Then, cover the concrete with tarpaulin, supported by small timber cuts and weighed down with bricks at the edges to ensure slow drying and reduce the risk of cracking.
And there you have it – your shed base is complete! Once the concrete is fully set, remove the framework with a crowbar, and you’re ready to build your shed.
How to lay paving slabs
If you would rather use paving slabs than concrete, you’ll need to follow these steps:
Step one: Marking heights and corners
Hammer a wooden peg into each corner of the site and attach a builder’s line to mark the height of the paving slabs.
Step two: Mortar preparation and application
Choose a mortar method – either mix four parts sand and one part cement or use pre-mixed mortar. Then, apply the chosen mortar onto the sub-base using a trowel, ensuring there is enough for each individual paving slab.
Step three: Preparing the paving slabs
Get a bucket of water and, using a brush, dampen the back of the paving slabs. This water serves as an adhesive to secure the slabs in place, allowing them to be slid into position.
Step four: Placing and aligning paving slabs
Carefully lay the first slab into place over the mortar, tapping it gently with a rubber mallet to avoid cracks. Use the trowel to cut the external edges of the paving flush with the slab. Continue laying the first row, adding timber spacers (5mm to 10mm wide) between each slab to ensure uniform spacing.
Use a spirit level to check for levelness as you progress. If any slabs slide, remove and relay, adding more mortar if necessary.
Step five: Extending the paving slab rows
Once the first row is complete, start laying slabs along the outer edges of the squared space. If using a grid pattern, ensure the first and last slabs on alternate rows are half paving slabs.
Step six: Completing the installation
Continue filling in the central area from the first row backwards, checking the level with a spirit level. Leave the installation to allow the mortar to set for at least 48 hours. Consider covering the slabs with tarpaulin to protect them from the weather.
After drying, fill the spaces between the edges of the slabs with leftover mortar or paving grout (dry jointing compound).
To conclude
A professionally laid shed base is indispensable for the proper functioning of your shed.
Ultimately, which type of shed base you choose depends on your garden layout and your landscaping design.
Luckily, now that you know how to build a shed base step by step – both a concrete one and a paving slab one – building a shed base has never been easier.
Just remember to buy quality materials, work diligently, and don’t rush the individual steps, and you’ve quite literally got this covered!
Was this guide useful?
Mentioned in this project guide:


