
Laying a gravel path is a great way to improve your garden’s drainage, boost its aesthetic appeal, and ensure you can easily apply various landscaping features quickly and easily, whatever the weather. So, what is the proper way to lay gravel?
At Landscaping Superstore, we’re here to lend a helping hand with our step-by-step guide. Read on to find out how to lay a gravel path.
Table of contents
How to plan for gravel paths in gardens
A gravel garden path adds a timeless touch to any garden. That’s why it’s imperative to engage in careful pre-planning before you commence the digging process. Before you begin, consider the following:
- Is the intended location conducive to easy access to all the garden’s prominent landscaping features, without creating a convoluted maze?
- Is the chosen location a practical and feasible option for your proposed gravel path?
Addressing the first question merely involves some light sketching and contemplating your usual movements in the garden. You’ll also want to explore the latest gravel pathway ideas and concepts. In contrast, providing a satisfactory response to the second question necessitates a more comprehensive evaluation.
Before advancing, it’s crucial to meticulously inspect the area using a cable avoidance tool to ensure you don’t accidentally harm any underground cables. Once you’re confident that this won’t be an issue, it’s time to collect your tools and materials and get to work.
You’re going to need the following tools and materials:
- Pathway gravel
- Appropriate gravel path edging
- Weed-blocking membrane
- MOT Type 1 material for levelling
- Square shovel
- Rake
- Wacker (a compaction tool)
- Hammer
- Drill
- Screws
- Spirit level
Got everything handy? Time to kick off with the main part of the project!

How to lay a gravel path step by step
How do you prepare the ground before laying gravel? That’s the first step in the process!
Step one: Excavate the pathway channel
Mark the path’s position using wooden pegs and string. Use your spade to outline the path’s edges and the channel you’ll create. You’ll need to dig to a depth of 100mm. This is the initial groundwork for your gravel path.
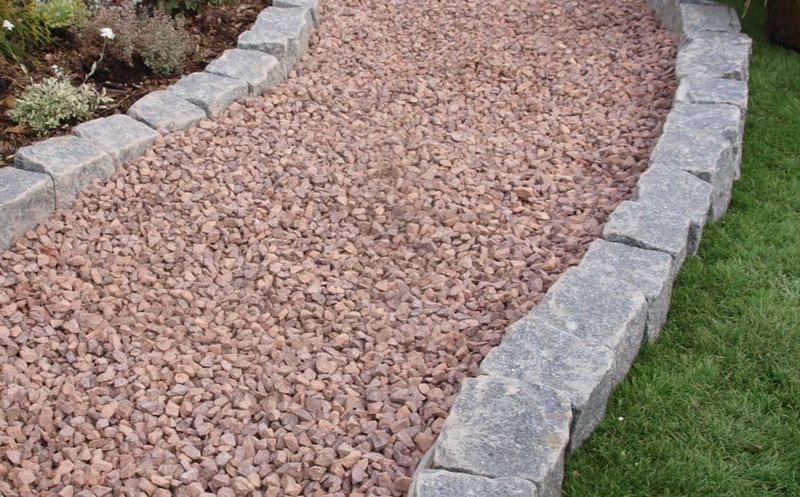
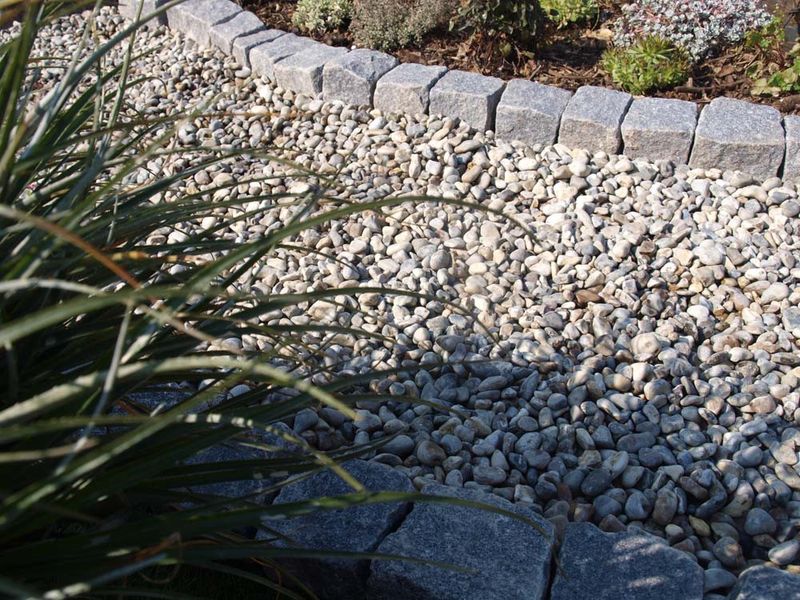
Step two: Install gravel edging
Carefully position the timber edging. Hammer wooden pegs into the ground at approximately 1200mm intervals along the edging and secure them to the timber using exterior screws. This prevents the edging from collapsing later on. Use a spirit level to ensure the edging is level, making any necessary adjustments with a hammer.
Step three: Lay weed membrane
A weed membrane or landscape fabric will prevent unwanted weeds from encroaching on your new gravel path. Carefully roll it out across the entire width and length of the channel. When overlapping sections, provide a 50mm overlap in width and a 100mm overlap in length to ensure complete coverage for the aggregate pathway.
Step four: Add the sub-base layer
At this point, it’s time to incorporate a 50mm sub-base layer. It’s best to use Type 1 MOT, a well-established choice for garden paths, walkways and driveways. Rake the sub-base until it’s smooth, and then compact it using a wacker. Pass the wacker twice along the entire length of the path and verify that the sub-base is level.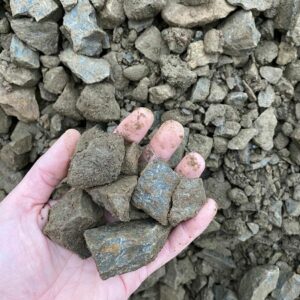
Step five: Spread the decorative gravel
Carefully spread the gravel over the sub-base to a depth of approximately 25mm and rake it until it’s even. Ideally, this should leave about 25mm of space to the top of the edging, preventing any gravel from spilling into your garden.
That’s how to lay gravel on soil. Your beautiful new gravel path is done, and you can say goodbye to crushed grass, plants or flowers.
To conclude
Laying a gravel path will provide a lasting and visually appealing feature that enhances your garden’s overall aesthetics. Additionally, gravel paths are durable and relatively low-maintenance, requiring minimal upkeep compared to other path materials.
Moreover, they allow for effective water drainage and are an eco-friendly, cost-effective choice.
Last but not least, a gravel path can be installed with relatively simple tools and techniques, making it an accessible and practical landscaping option for the engaged homeowner, such as yourself.
Now that you know how to lay a gravel path, you’re well prepared to take on the task.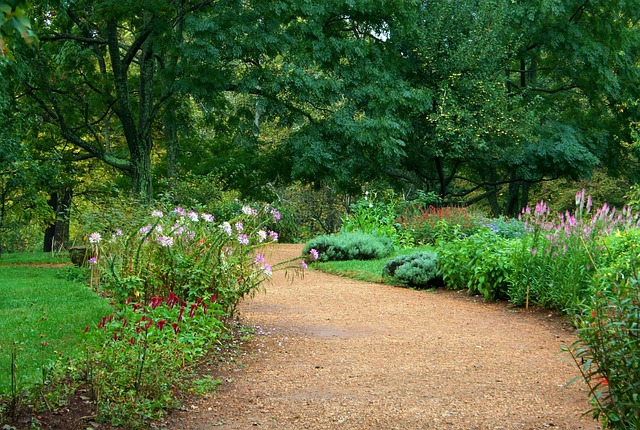
Was this guide useful?
Mentioned in this project guide:


