
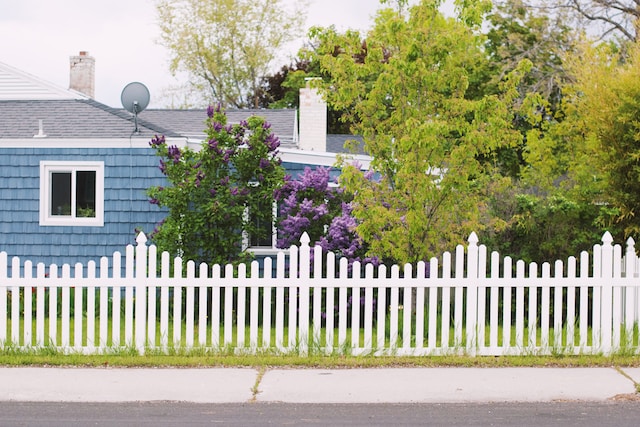
A fresh coat of paint can do wonders for your fence, improving the overall look and feel of your garden and adding extra pizzazz to your landscaping design. Luckily, you can paint a fence in a few different ways – it’s entirely up to you.
Moreover, this DIY project is easier than you might think! Here at Landscaping Superstore, you can find out how to paint a fence like a pro and much more with our simple guide. Read on to learn more.
Table of contents
- What do you need to paint a fence?
- How to prepare for fence painting
- How to paint a fence using a brush
- How to paint a fence with a sprayer
- How to paint a fence with concrete posts
- Painting a fence like a pro
What do you need to paint a fence?
Painting a fence can be accomplished through brushing or spraying. If you opt for spraying, keep in mind that smaller brushes may be needed to cover intricate areas.
Brushing the fence
Brushing a fence can be time-consuming, making it suitable for smaller or more challenging sections. This method is ideal for areas such as edges, corners or fencing near windows where you want to avoid overspray.
Spraying the fence
When choosing to spray a fence, ensure you have sprayable fence paint. Bear in mind that the right weather conditions are crucial for this method.
Elements like wind can alter the paint’s direction, potentially affecting other features in your garden. So, you’ll need to monitor the weather forecast and prepare accordingly.
Best approach for wooden fence painting
The best method depends on the size and complexity of the task. Approach the project with thoughtful planning and assess whether it’s more efficient to use paint spraying, paint brushing or a combination of both.
How to prepare for fence painting
Before you start painting, ensure you have the necessary protective equipment, especially when using a paint sprayer, as it poses a risk of splashes into the eyes and stains on clothing. If you have old clothes that you don’t mind staining, they can be perfect for this task.
Here’s how to prepare your fence for painting.
Step one: Preparing and protecting the surroundings
If you have plants or foliage to protect, cover them with a plastic or dust sheet, trim them back or tie foliage with string. Use masking tape or newspaper to shield handles, metal hinges and other features from paint. Don’t forget to cover any nearby garden features you want to protect.
Step two: Cleaning and debris removal
Clean the fence of debris using a brush, removing dirt or splintered wood. For algae or similar substances, use a damp cloth with a general cleaner, wearing gloves to avoid splinters.
Step three: Repairing rotten or damaged sections
Replace any rotten sections of the fence. Smaller damaged areas can be repaired with wood filler. Then, repair or replace damaged sections as needed.
Step four: Replacing protruding nails or screws
Remove and replace any old nails or screws sticking out of the fence panels for a cleaner and safer appearance.
Step five: Sanding for a smooth surface
Sand down the wood to smooth splintery or rough sections and ensure new sections are flush with the older parts of the fence.
Step six: Priming the fence for longevity
Prime the fence with a suitable wood primer and allow it to dry. This will enhance the longevity of the final paint and improve its appearance.
Tip: Conduct a patch test of the paint before complete application to get an idea of the colour when dry.

How to paint a fence using a brush
Here are the steps you’ll have to follow to paint your fence using a brush:

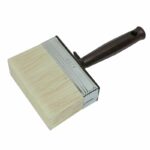
Step one: Broad brush application
Ensure you have a sizeable paintbrush to cover the fence panels, following the direction of the timber grain. Apply an ample amount of paint to guarantee full coverage of the timber, being cautious of potential paint drips.
Step two: Detailing
Use a smaller brush to paint challenging sections untouched by the larger brush, such as areas between panels and posts or other inaccessible spots. Ensure the top of the fence posts is covered by gently dabbing the brush against the wood.
If a second coat is necessary, wait until the first layer is dry, as fence paint typically allows for a single application.
Step three: Drying and brush maintenance
Allow the paint to dry on the fence, and clean any brushes used to ensure their preservation for future use.
And there you have it – a freshly painted fence achieved with the assistance of a brush.
How to paint a fence with a sprayer
Next, we’re going to go over the process of painting your fence using a sprayer.
Here are the necessary steps.
Step one: Sprayer application
When you use a sprayer for painting, it significantly simplifies the task of evenly covering the fence. You’ll have to paint in the direction of the wooden panels for a smoother appearance, allowing you to efficiently cover a large surface area without the need for continuous back-and-forth movements with the spray.
Step two: Detailing with a brush
Using a brush, ensure that smaller sections untouched by the spray are painted over. This includes areas between panels and posts or other challenging spots inaccessible to the spray. Use the brush to cover the top of the fence posts by gently dabbing it against the wood.
Once again, if a second coat is required, apply it only when the first layer is dry.
Step three: Drying & maintenance
Allow the paint to dry on the fence before cleaning any brushes used to ensure they remain undamaged for future use.
That’s it! You’ve just painted your fence with a sprayer!
How to paint a fence with concrete posts
Fences often consist of timber posts and panels. However, in cases where the fence incorporates concrete posts, it’s advisable to take appropriate measures to protect them. One tried and tested method is to cover the concrete posts with masking tape or newspaper to prevent them from coming into contact with the paint.
Painting a fence like a pro
By painting a fence by yourself, you can give your garden a cost-effective yet remarkably effective upgrade.
You’ll also complement your other landscaping features, allowing your overall garden design to shine.
The best part? Whether you choose to paint the fence by spraying or using a brush, it’s a remarkably straightforward process.
Moreover, you can get the whole family involved for some fun and bonding. And now that you know how to paint a fence like a pro, nothing is stopping you.

Was this guide useful?
Mentioned in this project guide:


