
Building a pond is a fantastic DIY project that will transform your garden and boost the value of your property.
At the same time, it requires careful planning in terms of depth, size, shape and location. Early on, you’ll also have to decide whether you want an informal, natural-looking pond or a symmetrical, formal pond.
To lend a hand, we’ve put together a comprehensive guide on how to build a pond that will become the envy of all your friends and neighbours. Read on to learn the process!
Table of contents
- What you need to know before you get started
- Tools and materials you’ll need
- How to make a pond
- How to make a fish pond
- To conclude
What you need to know before you get started
Before you can let your pond ideas flow, it’s essential to consider three crucial factors.

1. Pond Type
When it comes to creating the pond of your dreams, you have a few options to explore. You can opt for a free-form design, shaping the pond as you desire, using a liner. Alternatively, you could purchase a pre-formed pond pool, typically constructed from high-density polyethylene (HDPE) and equipped with plant-friendly lifts. Your choice between a natural, free-form pond with stone borders or a more formal square pond with brick edges plays a significant role in this decision.
2. Location
The placement of your garden pond can greatly enhance your home’s appearance. Take into account the location of utility pipes in your garden to avoid accidental damage, ensure access to electricity for the pump, and consider the safety of children. It’s advisable to position the pond in an area with high edges or away from areas accessible to children.
3. Fish or Plants?
If you’re planning to include fish and plants in your pond, be aware that each has specific habitat requirements that must be met. We’ll get to that later in this guide.
Tools and materials you’ll need
For creating a free-form pond with a natural look, you’ll require the following items: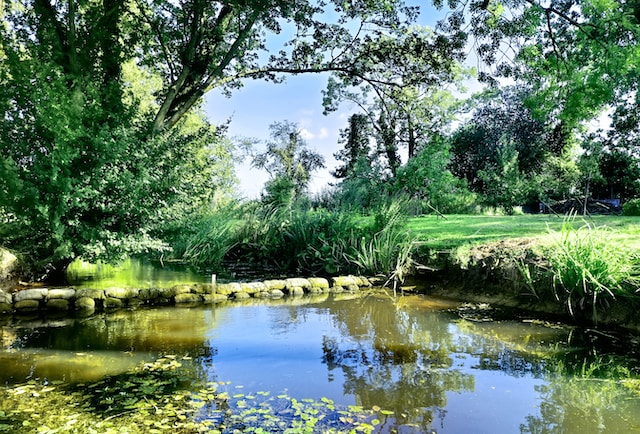
- Rope
- Spade
- Plank
- Spirit level
- Tape measure
- Craft knife
- HDPE pond liner
- Paving, edging stones, or bricks
- Pond pump
- Optional pond furniture, such as water features
- Optional decorative aggregates
How to make a pond
Once you’ve gathered all the necessary tools and materials, follow these steps. Choose a clear day for the project and take your time with each step of the process to avoid the need for costly, time-delaying alterations down the line.
Step one: Define the pond shape
Once you’ve selected an appropriate location for your pond, use a rope or a garden hose to outline the desired shape. It’s advisable to keep the shape simple, as intricate designs can lead to complications during the construction process.
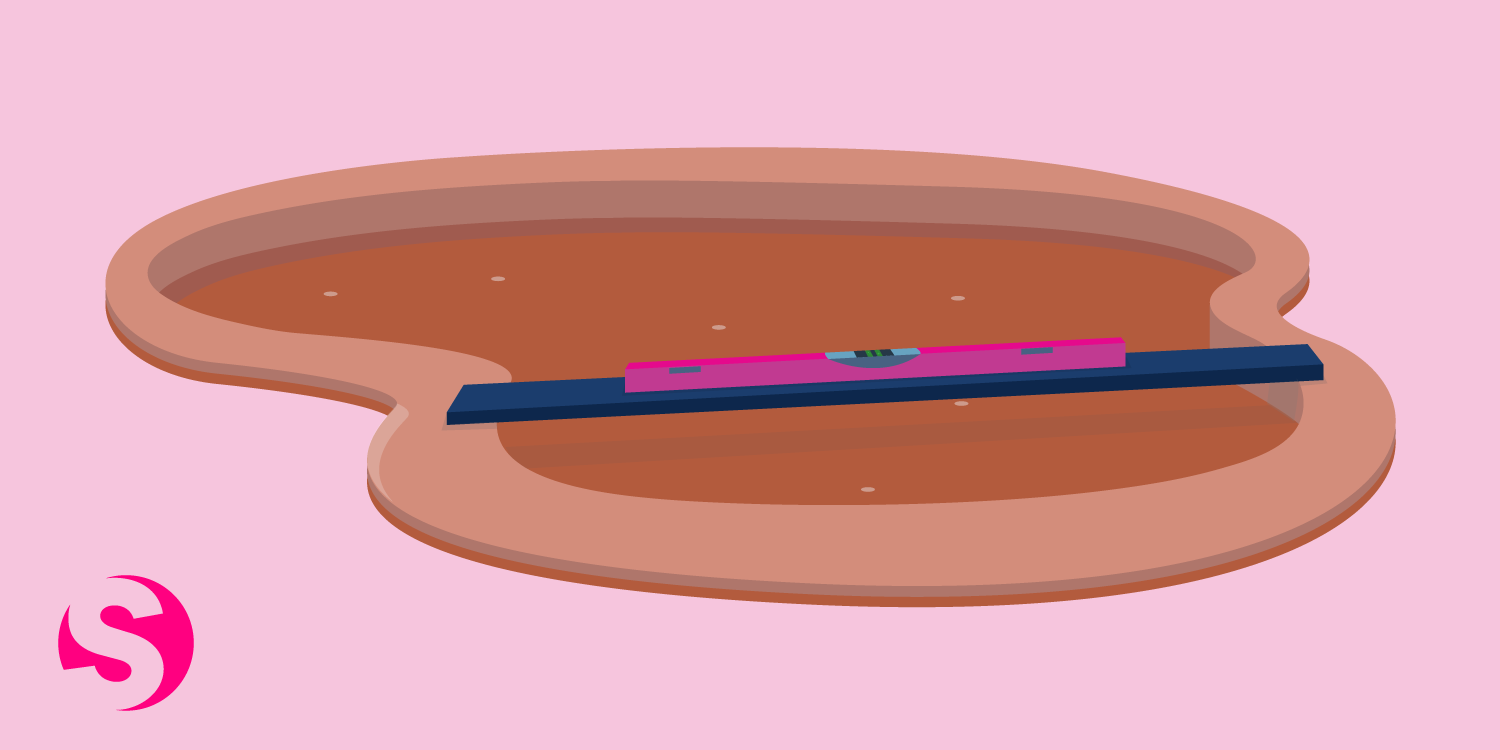
Step two: Excavate and level the area
Using a shovel, excavate the pond to the required depth, considering the needs of the pond plants and fish you plan to introduce. Ensure that the pond’s sides slope gently rather than being vertical. If you intend to incorporate small plants or a water feature, add suitable levels on the side. Be meticulous in removing any small stones or debris from the excavation to prevent damage to the pond liner.
Tip: To ensure the pond is level, lay a plank across it and place a spirit level on top.
Step three: Install the pond liner
Choose an HDPE pond liner that is larger than your intended pond size and line the interior. Leave a minimum of 50cm of liner extending beyond the top of the pond to secure it in place. Use rocks or bricks to anchor the liner, taking care not to puncture it. Place these items along the liner’s edge, not on the pond’s edge.
Step four: Fill the pond gradually
Gradually add water to the pond while gently shaping the liner as the water level rises. The liner may tug on the rocks or bricks holding it in place as the pond fills, so ensure that these anchors are substantial. Allow the pond to sit overnight.
Return to the pond the next morning and trim off any excess liner, leaving approximately 30cm to maintain its integrity.

Step five: Complete the pond with decorative edging
Enhance the pond’s appearance by using edging materials, such as promenade tiles, bricks or standard paving to create the desired decorative border. Extend the edging slightly over the water to safeguard the liner.
Step six: Install the pond pump and accessories
Now is the time to connect the pond pump and prepare the water for fish or aquatic plants. Don’t overlook the addition of pond accessories such as lighting and filters at this stage.

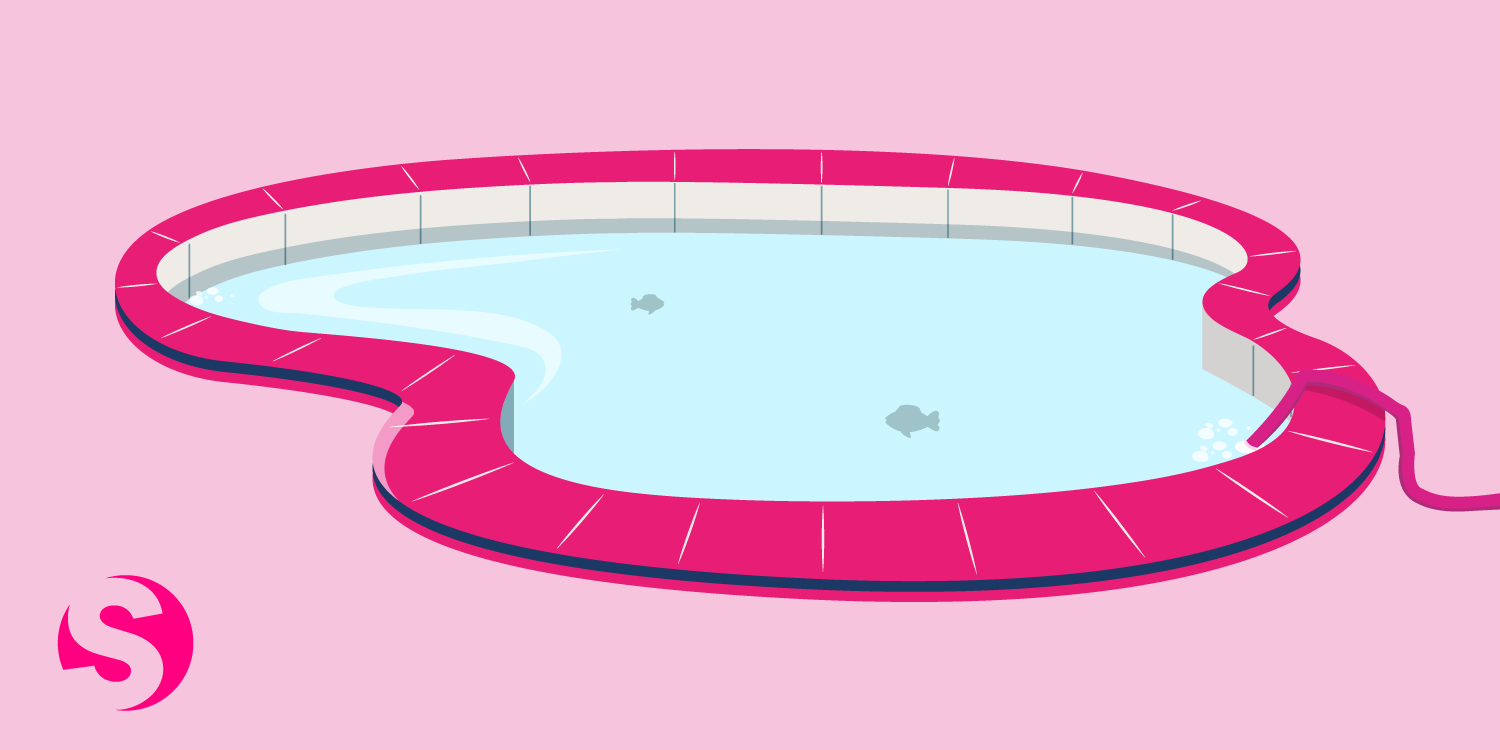
How to make a fish pond
Although the process of building a fish pond is similar, there are key differences when accommodating wildlife. When building a fish pond, you’ll need to consider what environment the fish will be living in – especially when it comes to depth.
Here’s a quick example:
Koi, a popular type of pond fish, should be accommodated with a depth in excess of 1.2m, as they tend to stay deeper in winter.
In a similar vein, if you’re adding a pond plant with the fish, some aquatic plants may need depths of 2m, whereas others may only need 50cm. Do your research before you introduce any plants or fish.
To conclude
A garden pond is a lovely addition to any garden – one that will provide the perfect setting for many hours of comfort and relaxation.
Moreover, building a pond – especially an informal one – is easier than you might expect.
As it happens, the key part of this project is careful planning ahead of time to ensure the type of pond, size, shape and location are right for your family and your garden.
Get this right, and you’re halfway there! After that, it won’t be long before you can start enjoying your brand-new garden pond and relaxing in style.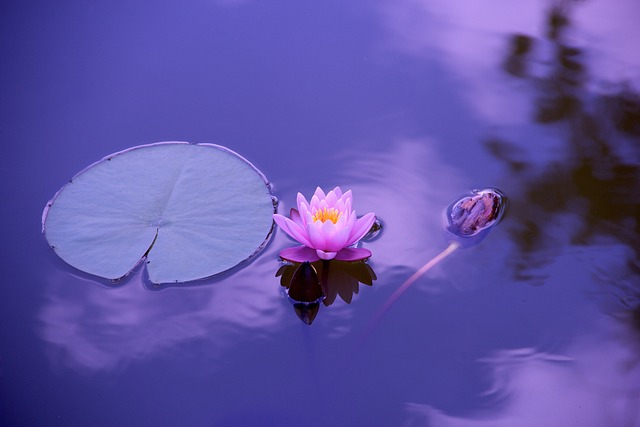
Was this guide useful?
Mentioned in this project guide:


