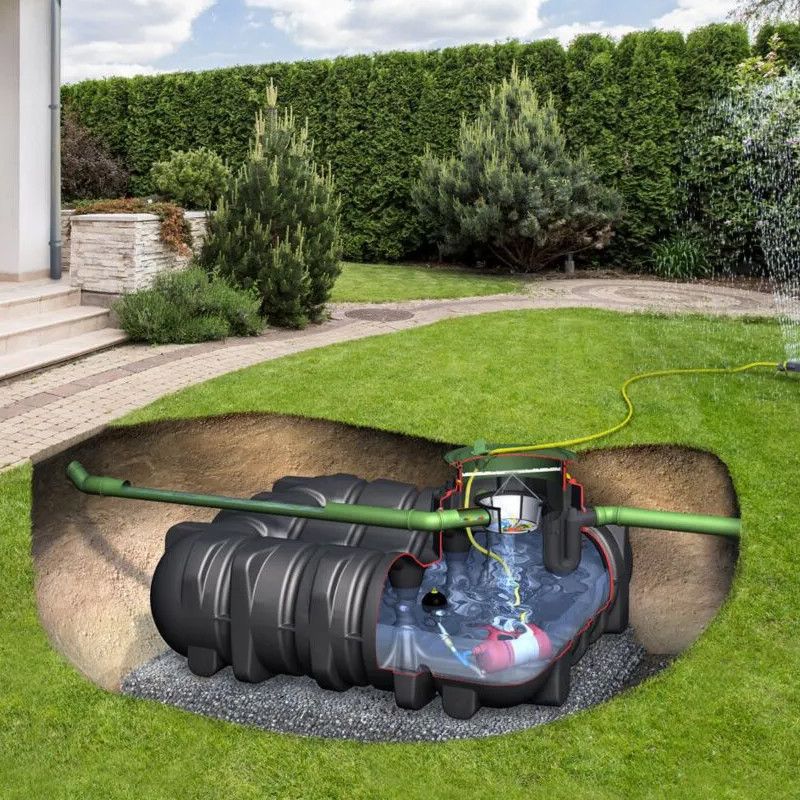
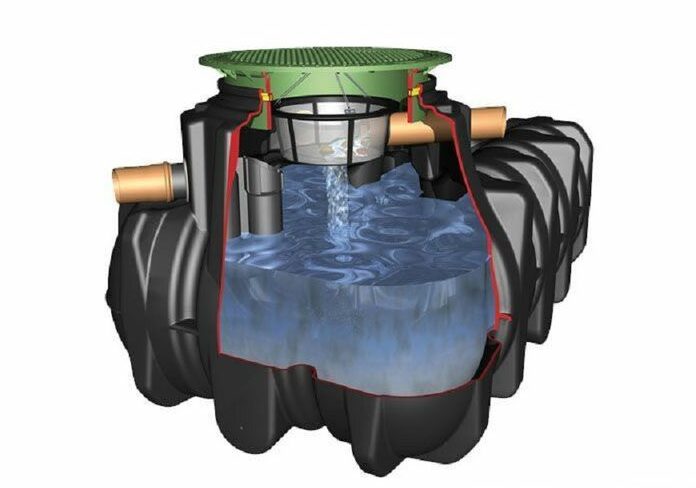
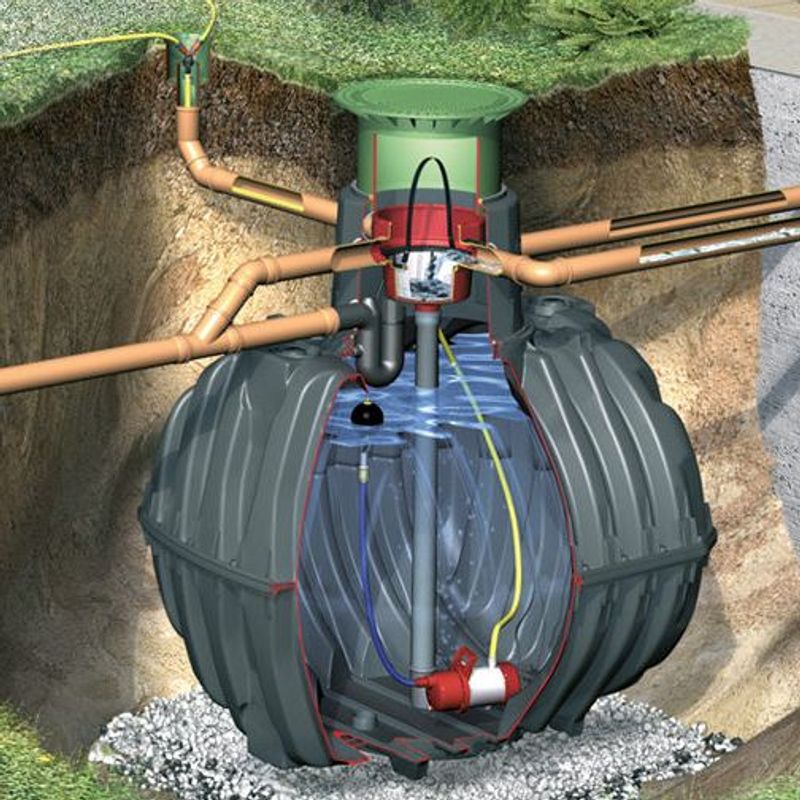
Regularly cleaning your rainwater tank is vital to ensure the quality and safety of the water it collects.
The thing is:
Over time, debris such as leaves, bird droppings and other pollutants can accumulate on the roof and in the gutters, eventually finding their way into the tank. If left unchecked, these contaminants can compromise the water quality, leading to potential health hazards.
At this point, you’re probably wondering:
How do you clean a rain water tank?
You’ve come to the right place! At Landscaping Superstore, we’ve put together an in-depth guide on cleaning a water tank and making sure it’s in good working order.
Let’s jump right in.
Table of contents:
- The basics of rainwater harvesting maintenance
- How to clean a water tank
- How often should you clean your rainwater tank?
- Wrapping it up
The basics of rainwater harvesting maintenance
Whether your water tank serves as a source of potable drinking water or supplies greywater for your garden, you have to ensure that it operates efficiently and complies with relevant rainwater harvesting regulations, such as BS EN 16941-1 – Requirements for on-site collection and use of rainwater.
Please note that only qualified personnel should enter the tank at any point.
With that in mind, here are key maintenance steps to follow:
Check the mains backup supply
Verify that the mains backup water supply activates when the rainwater level is too low. Test the system by adjusting the float-switch to different levels. If the backup water doesn’t flow automatically, seek professional assistance for a thorough examination and repair to prevent accidents. Regular adherence to these maintenance steps will help ensure the continued effectiveness and safety of your rainwater harvesting system.
Check the gutters and downpipes
Gutters and downpipes play a critical role in directing water to the tank, but they are prone to blockage from debris, leaves and dirt, particularly during autumn. So, you should regularly inspect and clean these components, and trim overhanging tree branches. Consider investing in quality gutter brushes for easier maintenance, especially if you have a few trees in your garden.
Check the pump
Carefully inspect the pump to prevent leaks and conduct periodic test runs to ensure it functions properly. Heavy thunderstorms or flash flooding can lead to malfunctions, so it’s advisable to perform this check at least once a year.
Check the filter
Inspect the filter annually to ensure proper functioning. Any issues may manifest as changes in water colour and foul odours. Clean the filter as needed, following the manufacturer’s instructions.
How to clean a water tank
In addition to performing routine maintenance tasks, don’t overlook the crucial step of cleaning your water tank. A pristine water tank equates to a content and high-performing water storage system.
While specific cleaning procedures may vary among manufacturers, the general sequence of steps is as follows:
Step 1: Drain the rainwater tank
Attach a garden hose to the tap or valve to water your garden plants or trees, or collect the water in buckets for various purposes, such as car washing, to avoid unnecessary wastage.
Step 2: Clean the rainwater tank
Create a mixture of detergent and hot water. Then, use a water hose or hot water washer to thoroughly clean the tank’s interior. Pay close attention to joints and corners, where dirt tends to accumulate. Allow the cleaning mixture to sit for a couple of hours.
Step 3: Rinse the tank
Refill the tank with mains supply water and rinse it thoroughly, repeating the process as needed. When the water runs clean, consider the rinsing complete. Use this opportunity to check for and note any leaks.
Step 4: Disinfect the pipes and tank
For tanks supplying drinking water, chlorination is essential. Measure the current chlorine level and add Sodium Hypochlorite as needed to reach the required 50PPM (parts per million) free residual chlorine. A technician should then verify the system. For garden and greywater tanks, use an antibacterial spray for disinfection.
Step 5: Recommission the tank
If necessary, neutralise chlorinated water in domestic tanks with Sodium Thiosulphate. For garden-only rainwater tanks, simply fill with water, let it sit for around half an hour, and flush the system one final time.
Finally, if your tank supplies drinking water, fill it halfway with mains water and measure total dissolved solids (TDS) and chlorine levels. Ensure TDS is within 5% and chlorine levels between 0.5 and 0.1PPM.
How often should you clean your rainwater tank?
The frequency of cleaning your rainwater tank depends on whether it serves as a drinking water supply or as a source of greywater for the garden or toilet flushing.
Here’s the deal:
For drinking water tanks, the Drinking Water Inspectorate, an independent UK water supply regulator, recommends an annual cleaning. However, we advocate a more proactive approach, suggesting a cleaning routine every six months, particularly for tanks that have been in use for an extended period.
Conversely, rainwater tanks exclusively designated for storing and supplying greywater are less demanding. Nonetheless, it’s advisable to conduct a thorough cleaning and disinfection every one to two years.
In addition to these scheduled maintenance tasks, it’s crucial to clean your rainwater tank promptly if you observe a significant decline in water quality or detect excessive plant growth and debris accumulation. Regular vigilance and responsive cleaning practices ensure the continued safety and efficiency of your rainwater harvesting system.
Wrapping it up
A domestic water tank is a highly efficient, environmentally friendly way of making the most of the free resource that is rainwater.
What’s more:
It can help improve your garden drainage and protect your home from flooding.
However, only a clean water tank can do that.
The bottom line is:
Regular maintenance of your rainwater tank is essential. Luckily, now you know how to go about cleaning a water tank.


