
Putting up a fence is a cost-effective way of giving your outside space a boost and improving the safety of your property. At the same time, it’s not the easiest DIY project in the world, as it requires plenty of time and effort.
Luckily, with a bit of know-how and the right advice, you should be more than capable of taking on it. To lend a hand, at Landscaping Superstore, we’re going to show you how to put up a fence like a pro. Read on to learn more.
Table of contents
- The benefits of installing a fence
- Before you start
- What height should my fence be?
- How many panels does a fence need?
- How to install the fence posts
- How to install fence panels by attaching them directly
- How to install fence panels slot-in
- Fitting the post caps
- Installing gravel boards
- To conclude
The benefits of installing a fence
Fences offer a range of advantages that are often overlooked.
Here are key benefits to consider when contemplating the construction of a fence.
Boundary clarification
In situations where property boundaries are unclear, a fence becomes invaluable. It delineates your designated space, preventing confusion about where your land ends and public or neighbouring property begins.
Protection
While privacy is a common motive for erecting a fence, its benefits extend beyond just seclusion. Regardless of height, a fence not only minimises the risk of intruders but also shields your garden from adverse weather conditions.
Pet enclosure
Whether you have a dog or a cat, a fence provides a secure boundary, preventing pets from venturing beyond their intended limits. Some breeds, especially dogs, may require taller fences to deter them from jumping over.
Property value enhancement
The installation of a fence can contribute positively to the initial value of your home. This added value is substantiated by the protective and aesthetic benefits mentioned earlier. So, considering the impact on property value becomes an integral aspect of the overall benefits of having a fence.
Noise reduction
Fencing serves as an effective barrier against unwanted noise from neighbours, simultaneously containing the sound within your garden space.
Before you start
Before erecting a fence, it’s crucial to take preparatory steps, including acquiring safety gear, planning the design and obtaining necessary materials.
Ensuring safety during the installation process is paramount. Before you start digging, thoroughly check for any electrical mains or pipes beneath the surface to avoid potential damage to your home systems and prevent personal injury.
When it comes to personal protection, always wear appropriate safety gear such as safety goggles, a dust mask and suitable gloves. Following the manufacturer’s instructions is equally important for a safe and successful fence installation.
Here are the key stages of fence construction.
Choosing your fence
With various types of fences available, consider factors such as material, style and cost. The options are diverse, allowing you to tailor your choice to your preferences and requirements.
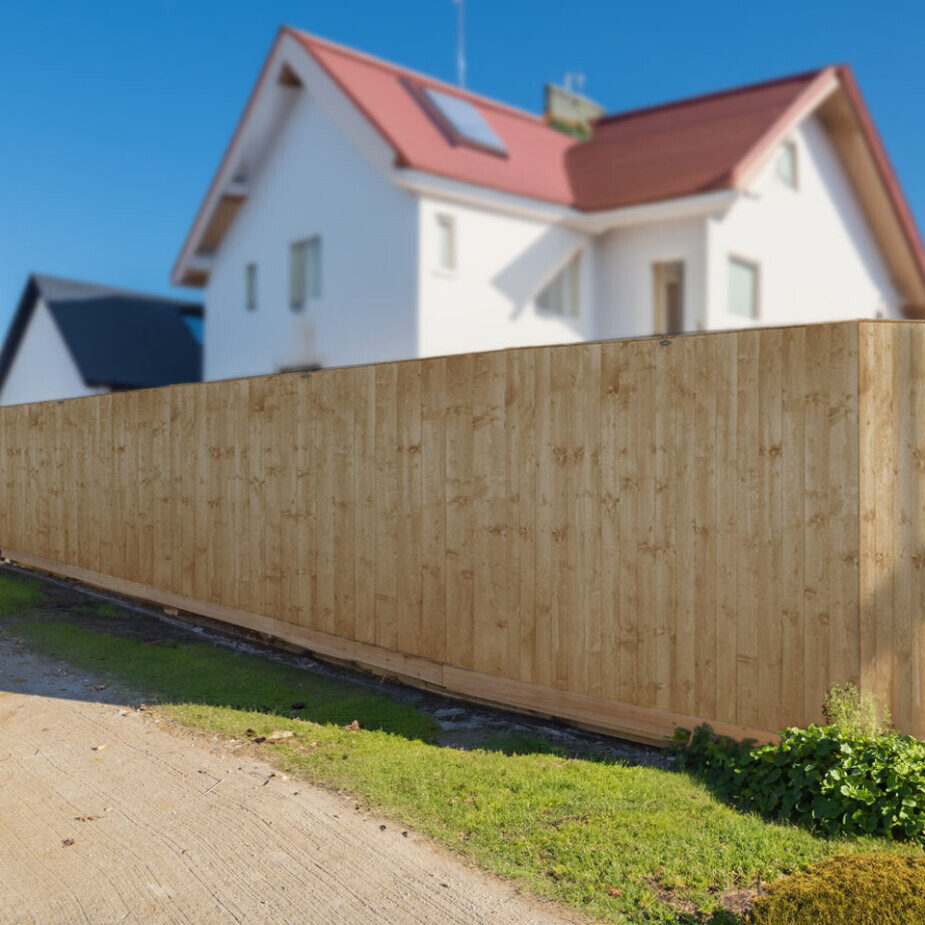
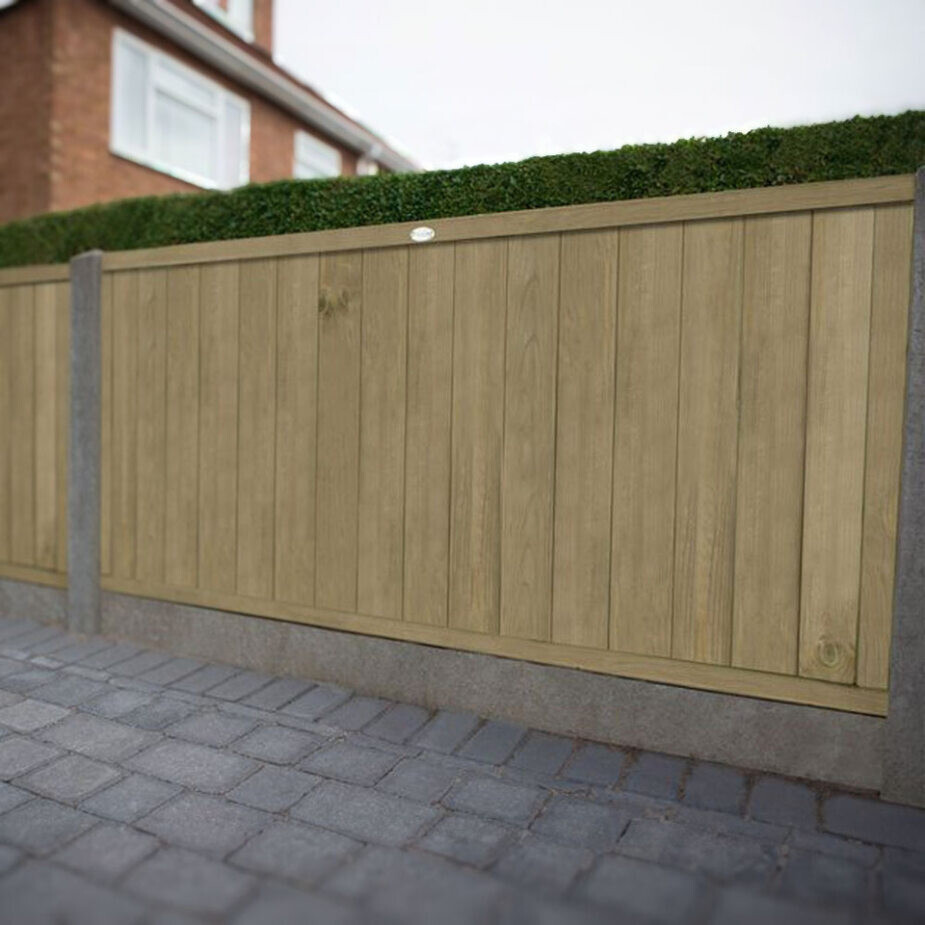
Closeboard fencing
This design features overlapping vertical timber boards, offering robust panelling for marking your land’s boundaries. Keep in mind that closeboard fencing can be quite heavy, so having support during the process is advisable.
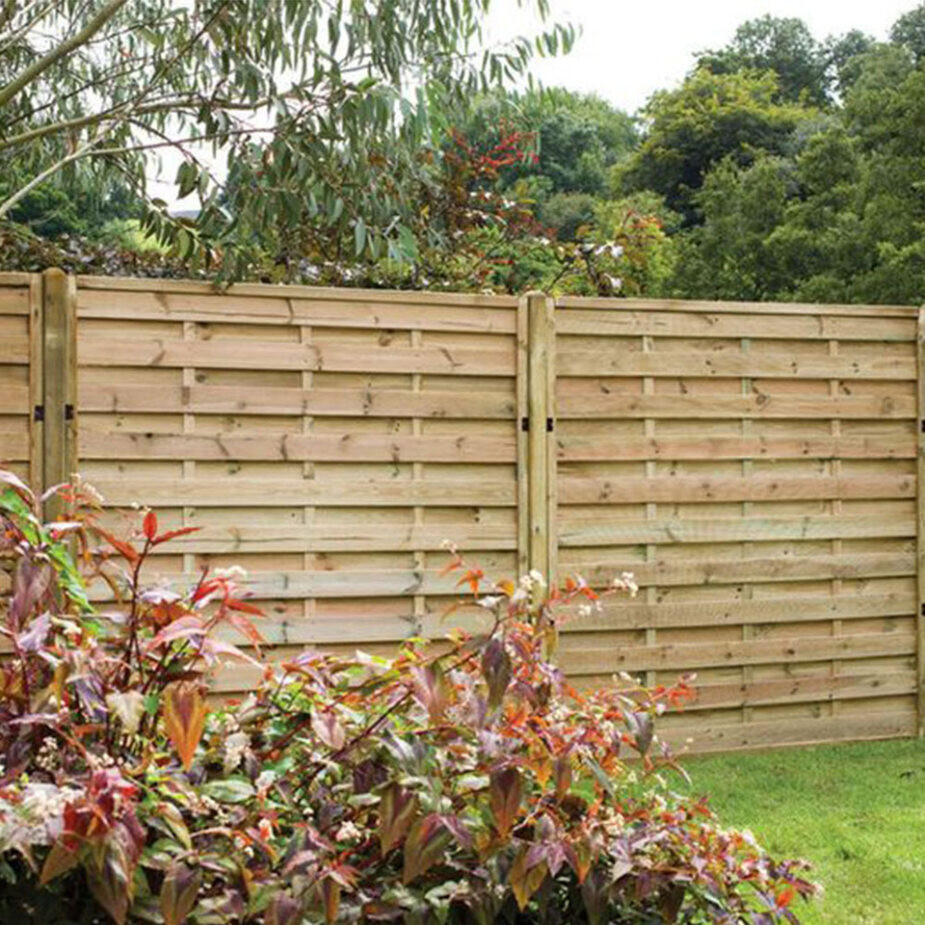
Overlap fencing
Similar to closeboard fencing, overlap fencing utilises horizontally overlapped timber boards. It’s a cost-effective option, providing privacy at a more affordable price. Consider this choice for an economical yet effective fencing solution.
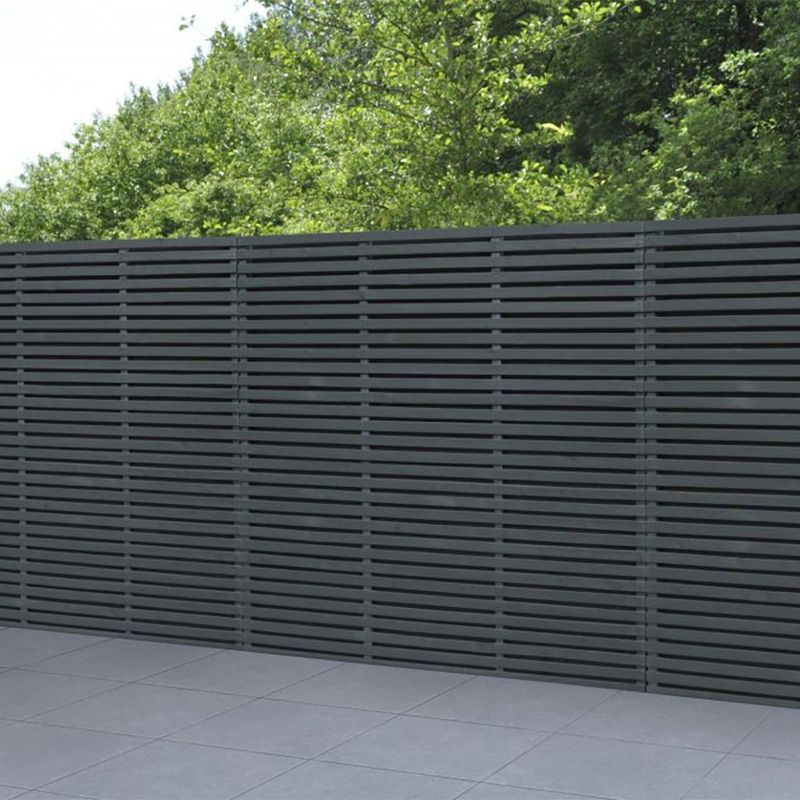
Picket fencing
Picket fencing consists of vertical timber boards with spaces between them, creating a low-border fence that still allows a view beyond your enclosed area.
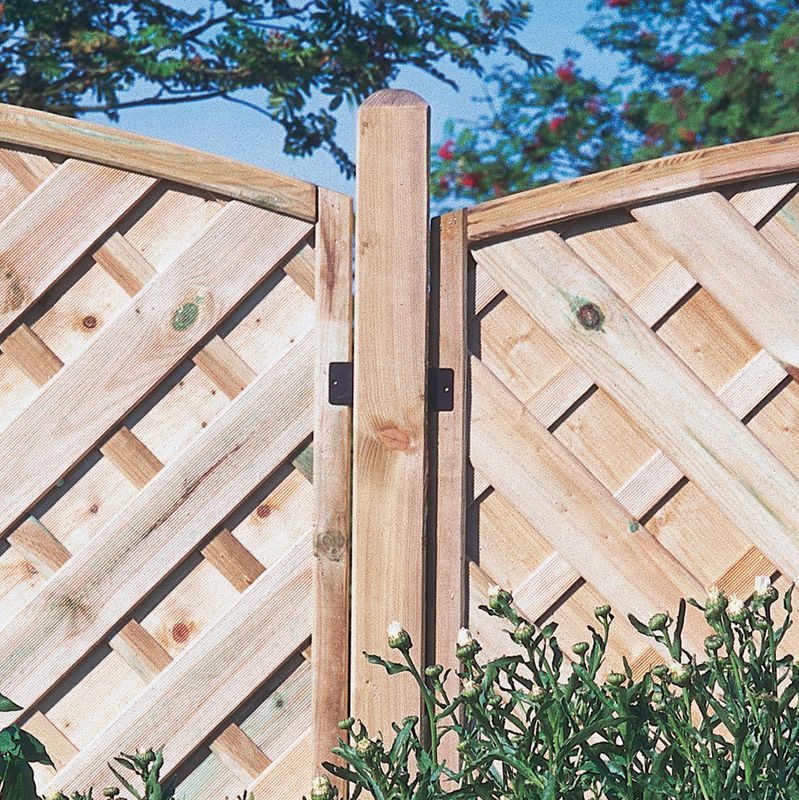
Trellis fencing
This stylish option allows for versatility in design. Whether used independently or on top of an existing solid fence, trellis fencing provides visible screening. Additionally, the design’s spaces allow for decoration with lightweight plants or garden features.
Choosing your posts
Consider various types of posts available to complement your chosen fence design. Matching the right posts to your specific fencing needs is essential for a durable and visually appealing result.
Having said that, let’s take a closer look at the main pros and cons of the three most common types of posts – wooden, concrete and metal.
| Fence post material | Pros | Cons |
| Wooden posts | Affordable Lightweight Easy to install Can match fence panels Sustainable Can improve longevity | Prone to rotting Prone to splitting High maintenance |
| Concrete posts | Stronger than timber Can withstand rough weather Lower risk of damage from insects & damp Last longer than timber Easy to maintain | More expensive At higher risk of chipping & cracking Prone to lifting Poor environmental impact |
| Metal posts | Lighter & stronger than concrete Easy to install Less likely to rot & crack Can withstand harsh conditions Highly versatile | Not as visually appealing Not as compatible with prefabricated panels |

What height should my fence be?
The height of your fence is not only a matter of personal privacy preference but is also influenced by the installation of the posts. So, accurately calculating the fence lengths is crucial.
As a general guideline, determine the desired fence height before determining the length of the posts to purchase.
Consider the following specifics when calculating post length:
For wooden posts set in concrete, opt for posts that are 2 feet longer than the intended fence height. When using post spikes or bolt-down post sockets, select posts of the same length as the intended fence height.
Importantly, when using post spikes, ensure there are no pipes or electric cables beneath the designated fence area, as spikes can extend up to 18 inches.
For fences exceeding 6 feet, it is advisable to use 4 by 4-inch posts. For fences below 6 feet, opt for 3 by 3-inch posts.
How many panels does a fence need?
Fence panels are usually installed with a width of 6 feet. To determine the number of panels required for your intended fence area, measure the length of the space and perform the following calculation:
Length of fence ÷ width of the panel (usually 6ft) = number of panels
After calculating the total number of panels, ensure that the corresponding quantity of gravel boards matches. These boards are positioned at the bottom of each panel. Additionally, add an extra fence post to the total number of panels to be installed. This will ensure proper support at both ends of the fence.
How to install the fence posts
To install the fence posts, simply follow these steps.
Step one: Clearing and safety check
Ensure the designated space is free from weeds, rocks and debris. Verify that there are no electrical lines or pipes beneath the surface to prevent damage to both systems and yourself. If you’re unsure, consult with your local council for assistance.
Step two: Marking the fencing line
Using a tape measure, mark out the intended fencing line. Measure the space between each post and mark the post locations with wooden stakes at the centre of the planned digging space.
Step three: Digging holes
Dig holes for the posts, making them three times wider than the post size. For instance, if you’re using a 6-inch post, dig a hole 18 inches wide and 2 feet deep, especially for soft soil.
Step four: Adding concrete mix
Swiftly add fresh concrete mix to hold the posts in place. Follow the manufacturer’s instructions for proper mixing. Concrete not only secures the posts but also helps prevent wooden post rot. Create a slight slope away from the post for improved water runoff using a trowel.
Step five: Placing the post
Before the concrete sets, place the post into the hole and use a spirit level to ensure it’s vertical on two connecting sides.
Step six: Securing with timber
Cut two pieces of short timber and screw them onto two opposite sides of the post to keep it in place as the concrete dries.
Step seven: Repeating the process
Repeat steps four through six along the planned fence line where the posts will be positioned.
Step eight: Elevating fence panels
Prevent wood rot by ensuring fence panels are raised 50mm to 100mm above the ground. Support the panels temporarily with pieces of timber or bricks.
With this foundation in place, we’re ready to find out how to install the panels onto the fence.
How to install fence panels by attaching them directly
Here’s how you should go about installing fence panels by direct attachment.
Step one: Gather supplies
Collect galvanised wood screws measuring between two and three inches in length.
Step two: Prepare for installation
Drill pilot holes into both the fence posts and the panels. This step not only ensures the precise placement of the panels but also facilitates a smooth entry into the posts without causing damage to the wood.
Step three: Secure the panels
Using the gathered screws, affix the first panel in place. Continue this process, adding each subsequent panel until the entire fence is assembled.
As an alternative to nails, you might want to consider using panel fixing clips. These clips offer a quick and easy way to attach the fence to the post. Carefully affix the fence clips to the post and slide the panel between the clips’ jaws. Then, secure the panel in place by either screwing or nailing it.
How to install fence panels slot-in
To install slot-in fence panels, follow these steps.
Step one: Panel slotting
Slide the fence panel into the groove on the edge of the concrete post, securing it in place.
Step two: Vertical alignment check
Use a spirit level to ensure the fence panel is vertically aligned within the groove. Continue following these steps until all fence panels are successfully installed.
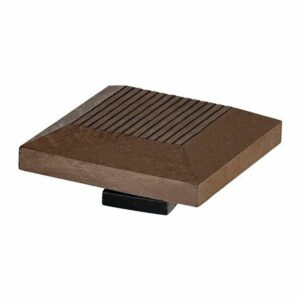
Fitting the post caps
Fence post caps serve to protect, preserve and enhance the aesthetic appeal of a fence by covering and shielding the exposed end grain of the fence posts. So, don’t forget to fit them! Here’s how
Step one: Preparing the post cap
To prevent splitting during installation, either dip the post cap in water or, if screwing it in place, drill pilot holes into the post.
Step two: Attaching the post cap
There are different ways to attach the post cap to the top of the post. Typically, you can nail or screw them on. For extra security, it’s a good idea to apply a silicone-based sealant on the bottom half of the cap. This sealant helps reduce the risk of water ingress beneath the post, preventing potential rot on the top of the post.
Congratulations, you’ve completed the fence installation! With your fence securely in place, you can choose to paint it or leave it in its natural state, applying a treatment to protect against fungi and insects for an extended lifespan.
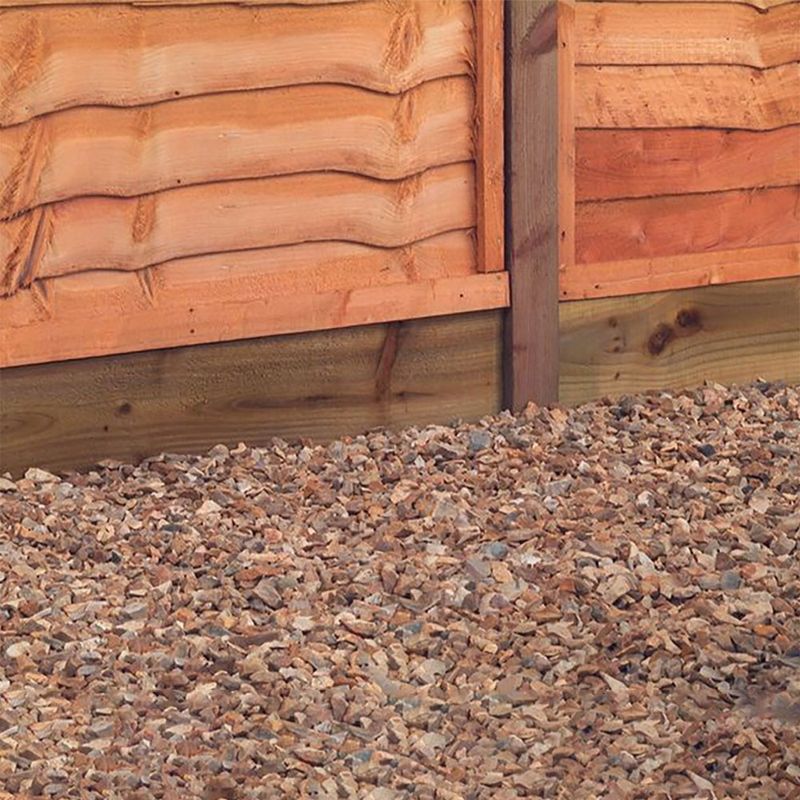
Installing gravel boards
Gravel boards are optional enhancements often employed to mitigate wood rot. If you aim to prolong the protection of treated wood, consider installing a gravel board.
There you have it! You can now relish and reap the benefits of your newly installed fence.
To conclude
A new fence can do wonders for your garden. By improving your home security, providing privacy and reducing noise levels, among other things, it’s a fantastic asset that you can enjoy for many years to come.
Better yet, putting up a fence by yourself will allow you to save money on this project and put your DIY skills to good use. Now that you know how to put up a fence step by step, you’re well prepared to take on the task.
Was this guide useful?
Mentioned in this project guide:


