
Are you considering giving your driveway a facelift? Block paving might be the answer! It’s not only a straightforward way to refresh your home’s exterior, but it also offers durability and versatility.
Choosing a paving design can be a challenge. Ensure you have a plan moving forward. Think about what items you’ll need, as well as what design and colours you’re looking for.
Right, let’s dive into the benefits and steps for block paving a driveway.
Table of contents
- Benefits of block paving a driveway
- How to block pave a driveway
- Make sure to consider surface water drainage
The benefits of block paving a driveway
Blocked paving is more than a pretty design choice; it’s also a practical one.
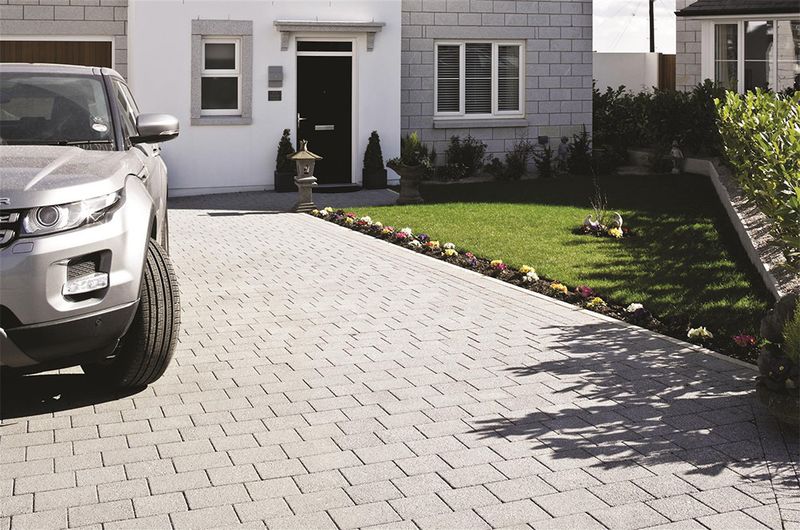
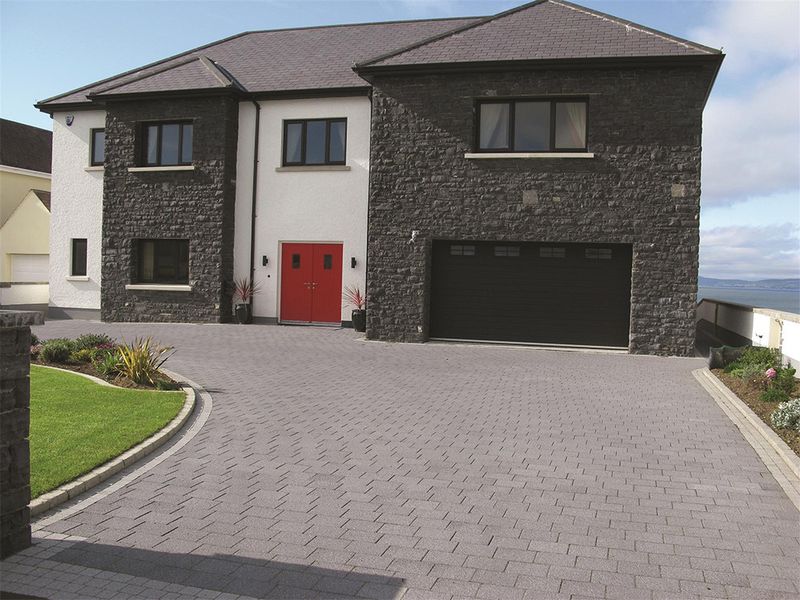
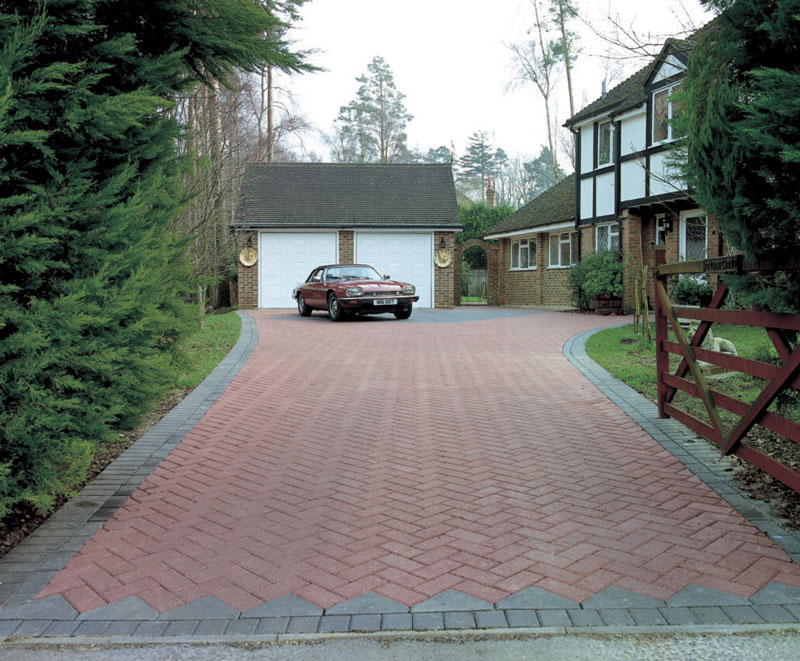
Attractive design
Block paved driveways are all the rage and for good reason! They offer complete customisation, allowing you to create a sleek and visually appealing finish for your home. The design possibilities are endless, with options for different colours and block paving patterns.
Versatility
One of the most aesthetically pleasing driveway options, block paving provides versatility in design. Experiment with various coloured blocks or patterns to craft a unique and attractive driveway.
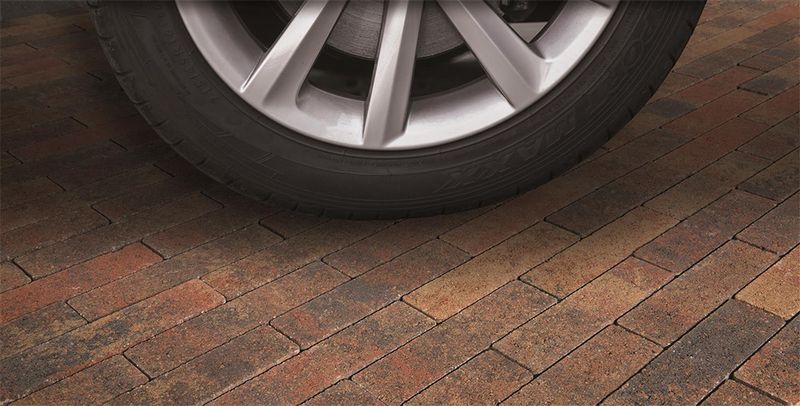
Durability
Block paving is not just about looks – it’s built to last. The hard-wearing nature of the blocks means you can easily replace or re-lay individual ones if needed, saving on maintenance costs.
Low maintenance
Block paving is a low-maintenance choice. A simple wash with soap and water is all it takes to keep them functional and visually appealing. While the installation process might be a bit time-consuming, the payoff for minimal upkeep is worth it.
Note: Block paving is more costly when building the driveway initially. You must also create a level subfloor and install each block individually.
How to block pave a driveway
Block paving is made of four different parts:
- a subbase;
- an edge restraint;
- sand and;
- the blocks for paving.
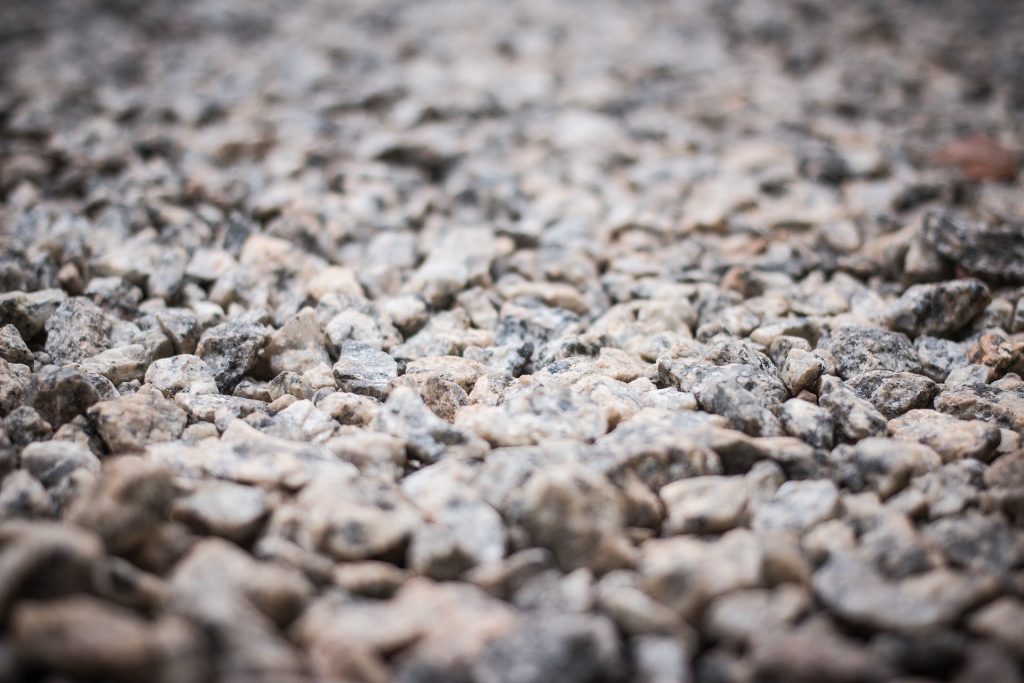
How deep should the subbase be for block paving?
Locations with the heaviest domestic use will need a 200mm thick subbase. For lighter traffic, the subbase can be thinner.
In areas where no traffic passes over the top, a subbase may not be required if the ground is firm and the soil is well compacted.
Crushed stone is the usual material for making up a subbase, but it can be made using quarried materials or similar – something readily available and accessible nearby.
Step one: Remove the stop soil and install the sub-base
Start by removing the topsoil to the required depth. The depth needs to include:
- a subbase
- sand layer (about 40mm)
- the blocks
So ensure there is enough depth. Then compact the ground, ensuring the subbase (if needed) has proper cross falls of at least 1 in 40, with longitudinal falls of 1 in 100.
Please note: Use readily available crushed stone or quarried materials for the subbase.
Step two: Install edge restraints
Install edge restraints using materials like plastic (including L-shaped PVC or strips of plastic), steel, or aluminium. Ensure they’re secured to support the shape of the paved area.
You can also use concrete curbs or existing walls to create edging around the perimeter of the paving area. You may also need to use mortar against the outside of the edging restraints. This will help keep them secure.
If paving near a wall, keep the blocks at least 150mm below the damp-proof course. The driveway must also drain away from the wall and the building.
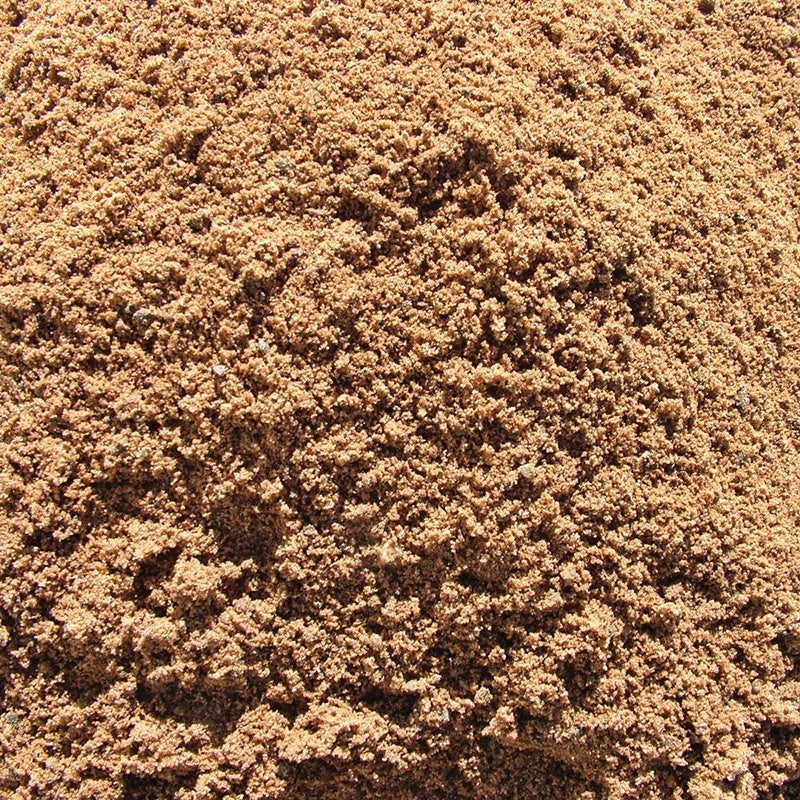
Step three: Lay sand across the sub base
Lay a moist sand layer approximately 60-65mm thick over the sub-base. Screed it to ensure a level surface using straight-edged timber or screed rails.
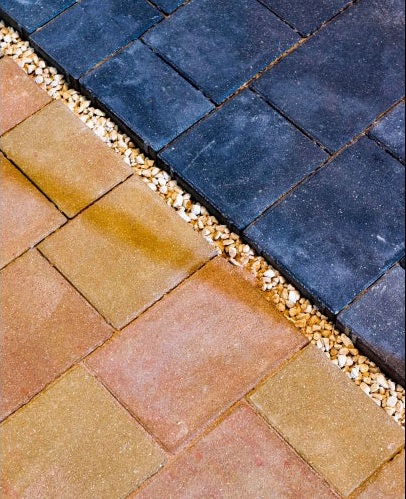
Step four: Lay the paving blocks
Place your chosen blocks in the desired pattern, starting from a corner or straight edge. Ensure they are laid tightly next to each other and about 15-20mm above your desired height.
Cut blocks as needed at the edges using a block splitter or a hammer and bolster. Minimise colour variation by using blocks from several packs of the same batch at once.
Step five: Sweep and compact
Sweep kiln-dried sand over the blocks, ensuring it fills the joints. Compact the driveway with a vibrating plate, repeating the process until all joints are filled.
Tip: Try to hire a rubber-faced compacting plate as this will help minimise scuffs or marks.
Congratulations! Your block-paved driveway is now ready to use.
Make sure to consider surface water drainage
Don’t overlook surface water drainage. Implement measures like channel drainage, such as ACO’s brick slot channels, to ensure effective drainage without compromising the driveway’s appearance.

If you’re ready to embark on this driveway transformation, consider checking out Landscaping Superstore for a wide range of block paving and landscaping solutions. From block paving kits to natural stone options, they have everything you need to create the perfect driveway for your home.
Looking for a different style? Explore how to build a gravel driveway for an alternative look that suits your preferences.
In conclusion, block paving offers a winning combination of style and durability for your driveway. Dive into the process, unleash your creativity, and enjoy the long-lasting benefits of a beautifully block-paved entrance to your home!

Was this guide useful?
Mentioned in this project guide:


